インストール
Docker Desktopをインストールします。個人使用です。
インストール手順はリンク先に記載してあるので、そちらを確認してください。
docs.docker.jp
ターミナルからコマンド打ってみます。
$ docker --version
zsh: command not found: docker
??
調べると、再インストールしたら治ったとの記事があったので、それ参考に再インストール。
アンインストールは以下ボタンから実行します。

再インストールして、もう一度ターミナルからコマンド打ってみます。OKです。
$ docker --version
Docker version 24.0.7, build afdd53b
公式の docker-compose.yml をみると、mariadb と adminer のイメージを使用しています。
hub.docker.com
adminer はブラウザ上からDB操作できるもののようです。一応入れようと思います。
www.adminer.org
イメージのpull
mariadb 10.5 の pull
今回はmariadb 10.5を使用したいです。検索します。

が、10.5がないのでコマンドラインからpullします。
$ docker pull mariadb:10.5
10.5: Pulling from library/mariadb
d519a3a2a796: Pull complete
0e4f9beb8fb8: Pull complete
951e0c3d323d: Pull complete
66f524be8b31: Pull complete
7119ddadd99f: Pull complete
685ec1961db9: Pull complete
9f3538b06216: Pull complete
8933781ee690: Pull complete
Digest: sha256:20d0648b52befeb1250a41226a2da1ef409e8a273aae1283334f072e18c53321
Status: Downloaded newer image for mariadb:10.5
docker.io/library/mariadb:10.5

What's Next?
  View a summary of image vulnerabilities and recommendations → docker scout quickview mariadb:10.5
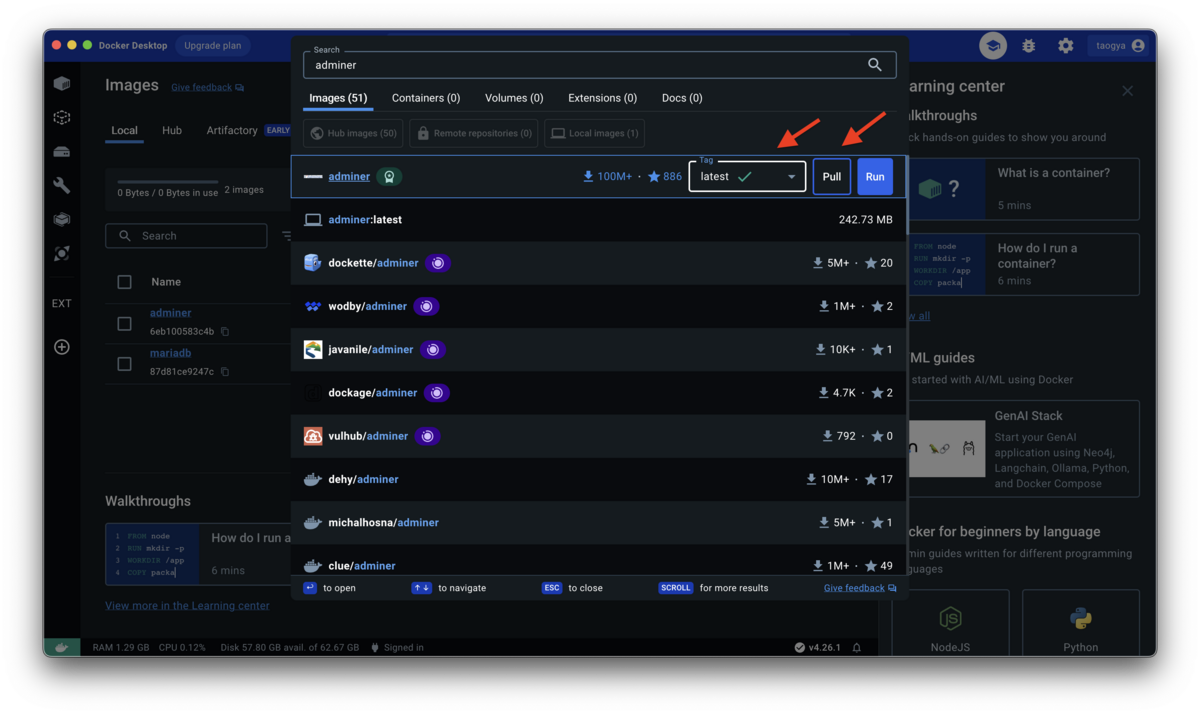
adminer の pull
これは version 気にしないので、 latest を入れます。
動作確認
公式 docker-compose.yml の動作確認
とりあえず公式通りにやってみて動作を見ます。
Visual Studio Codeを使用していきます。
拡張機能を入れます。Dockerで検索すれば出るかと思います。
marketplace.visualstudio.com
docker-compose.yml を作成して、以下を打ち込みます。
・docker-compose.yml
# Use root/example as user/password credentials
version: '3.1'

services:

  db:
    image: mariadb:10.5
    restart: always
    environment:
      MARIADB_ROOT_PASSWORD: example

  adminer:
    image: adminer
    restart: always
    ports:
      - 8080:8080
ファイル名を右クリックして、 Compose Up をクリックします。

http://localhost:8080/ にアクセスします。
接続情報を入力します。
| カラム | 値 |
|---|---|
| データベース種類 | MySQL |
| サーバ | db |
| ユーザ名 | root |
| パスワード | example |
| データベース |

動いているのを確認できました。
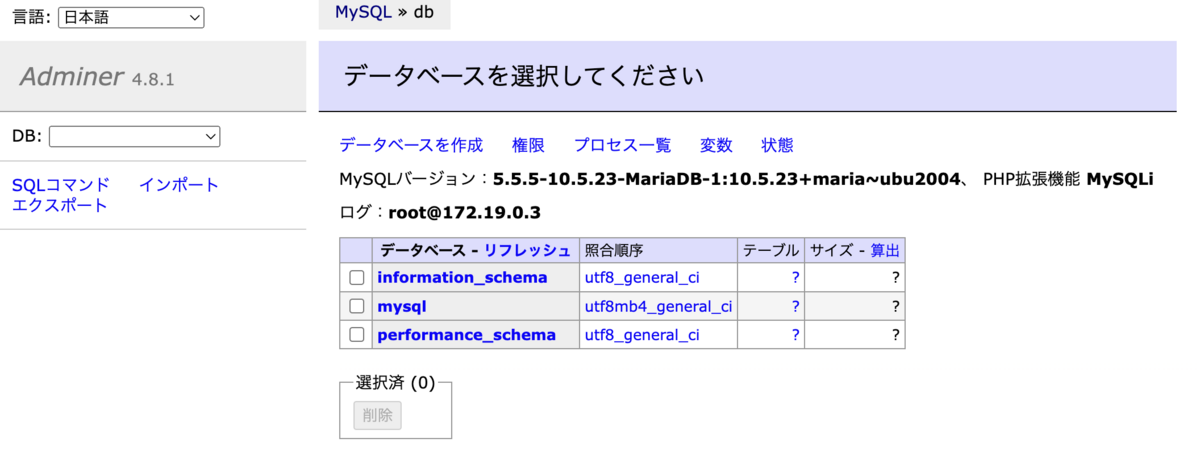
データベースを作成 からデータベースを作ります。


トップ画面はこんな感じです。
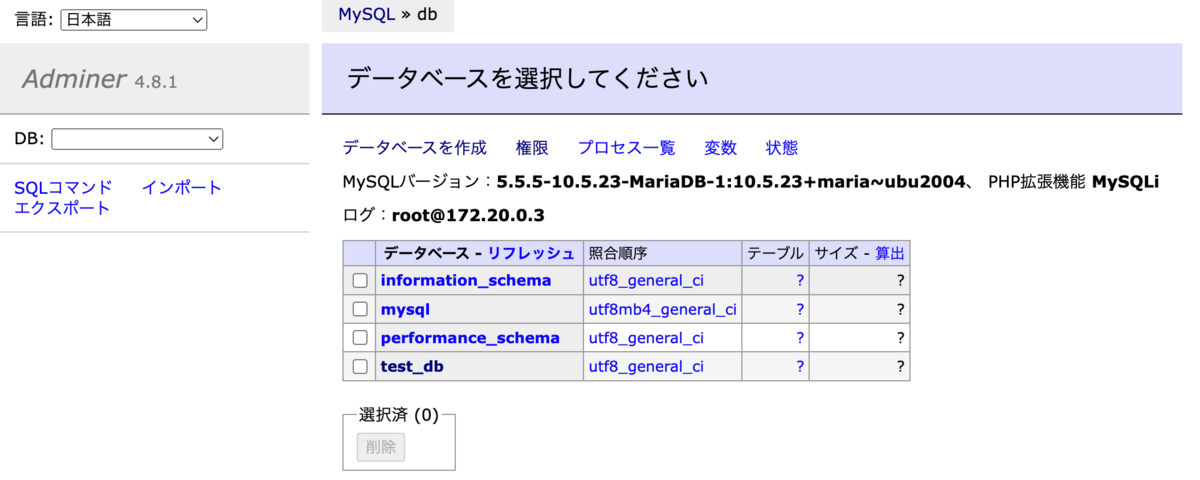
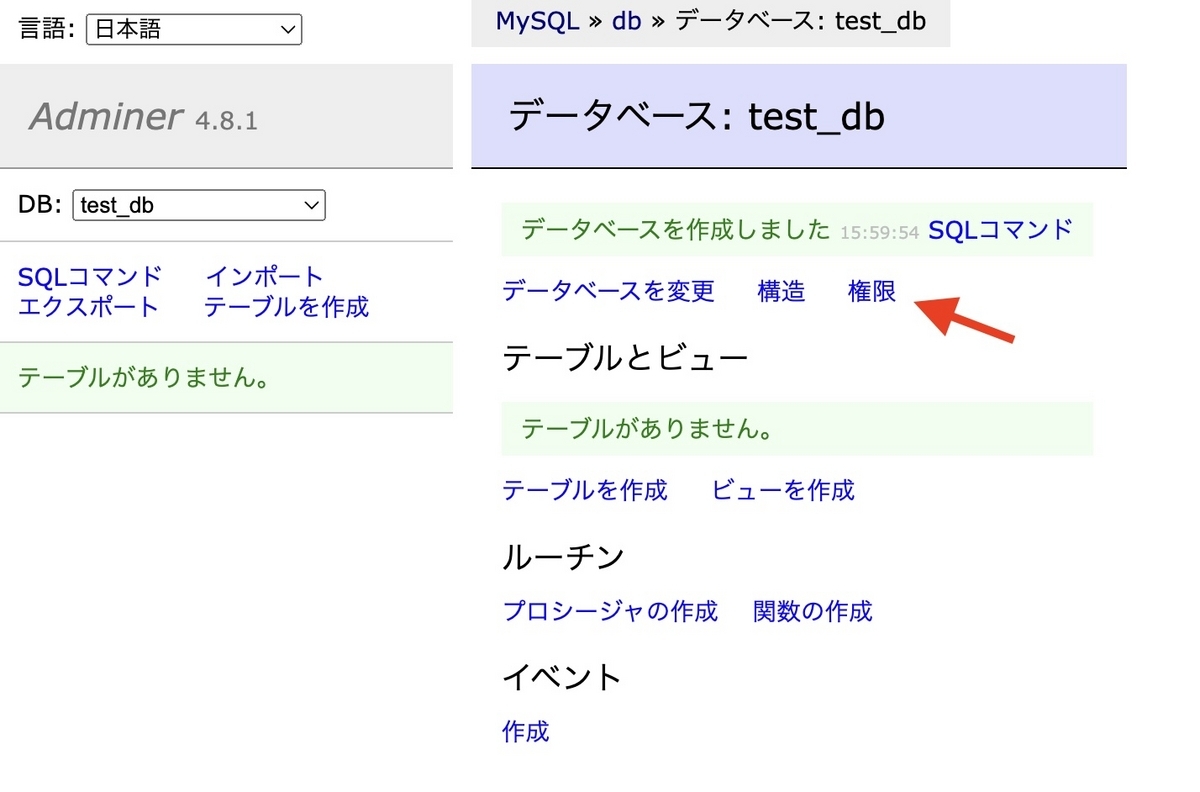
test_db をクリックして、データベースの画面に行き、権限 から、ユーザーを設定します。
サーバーは localhost 、ユーザー名は test 、パスワードも test とし、All privileges にチェックを入れて保存します。


使い方だいたいわかったので、いったんここまでとします。
ファイル名を右クリックして、 Compose Down をクリックします。
ここで、もういっかい Compose Up をすると、先ほど追加したデータベースとユーザーが消えています。
永続化が必要ということがわかりました。

永続化の方法
DBファイルをコンテナ外に置く必要があるようですね。
色々みてると2パターンあります。
①Dockerアプリで管理しているVolumeに割り当てる
②特定のディレクトリに割り当てる
①の挙動
・docker-compose.yml
# Use root/example as user/password credentials
version: '3.1'

services:

  db:
    image: mariadb:10.5
    restart: always
    environment:
      MARIADB_ROOT_PASSWORD: example
    volumes:
      - mariadb-data:/var/lib/mysql

  adminer:
    image: adminer
    restart: always
    ports:
      - 8080:8080


volumes:
  mariadb-data:
    driver: local
Compose Up して、test_dbを作成します。
Docker Desktop上のVolumeに追加されているのが確認できます。

その後、Compose Down → Compose Up します。
DBが残っていますね。
ちなみにどこで管理しているか調査。以下記事発見。
note.com
②の挙動
・docker-compose.yml
# Use root/example as user/password credentials
version: '3.1'

services:

  db:
    image: mariadb:10.5
    restart: always
    environment:
      MARIADB_ROOT_PASSWORD: example
    volumes:
      - ./db:/var/lib/mysql

  adminer:
    image: adminer
    restart: always
    ports:
      - 8080:8080
この時、Docker Desktop上のVolumeには追加されません。
ではどこにできたかというと、 docker-compose.yml と同ディレクトリ上。

今回は他の人とも共有したいので、②を採用したいと思います。
DB接続情報のカスタマイズ
お手軽作成
Compose Up 時にデータベース作成とユーザー作成を行うには以下のようにする。
・docker-compose.yml
# Use root/example as user/password credentials
version: '3.1'

services:

  db:
    image: mariadb:10.5
    restart: always
    environment:
      MARIADB_ROOT_PASSWORD: example
      MYSQL_DATABASE: test_db
      MYSQL_USER: hoge
      MYSQL_PASSWORD: hoge&example
    volumes:
      - ./db:/var/lib/mysql

  adminer:
    image: adminer
    restart: always
    ports:
      - 8080:8080
Compose Up前に、先ほど作成した db フォルダは削除しておかないとうまくいかないようなので削除しておきます。
実行して、 mysql.user のデータを見ると hoge が追加されています。

実際はもっと細かい設定したいので、SQL実行するようにしたいと思います。
SQL実行
Compose Up前に、先ほど作成した db フォルダは削除しておきます。
ついでに、 ports も指定するようにしてみます。
・docker-compose.yml
# Use root/example as user/password credentials
version: '3.1'

services:

  db:
    image: mariadb:10.5
    restart: always
    environment:
      MARIADB_ROOT_PASSWORD: example
    volumes:
      - ./db:/var/lib/mysql
      - ./sql:/docker-entrypoint-initdb.d

  adminer:
    image: adminer
    restart: always
    ports:
      - 8080:8080
docker-compose.yml と同じディレクトリに sql フォルダを作成して、その中に init.sql ファイルを作成して、以下打ち込みます。
・init.sql
CREATE DATABASE test_db CHARACTER SET utf8;
CREATE USER hoge IDENTIFIED BY 'hoge&example';
GRANT ALL PRIVILEGES ON test_db.* TO hoge;
USE test_db;
CREATE TABLE test_table (id int PRIMARY KEY, name char(32));
INSERT INTO test_table (id, name) VALUES (1, 'hello');
INSERT INTO test_table (id, name) VALUES (2, 'world');
Compose Up すると、データベースとテーブルが作成され、データも挿入されています。

コマンドライン上からアクセス
ターミナルを使用してデータベースへアクセスしてみます。
$ mysql --host=localhost --user=root --password=example  --port 3306 --database=test_db --protocol=tcp
mysql: [Warning] Using a password on the command line interface can be insecure.
Reading table information for completion of table and column names
You can turn off this feature to get a quicker startup with -A

Welcome to the MySQL monitor.  Commands end with ; or \g.
Your MySQL connection id is 9
Server version: 5.5.5-10.5.23-MariaDB-1:10.5.23+maria~ubu2004 mariadb.org binary distribution

Copyright (c) 2000, 2023, Oracle and/or its affiliates.

Oracle is a registered trademark of Oracle Corporation and/or its
affiliates. Other names may be trademarks of their respective
owners.

Type 'help;' or '\h' for help. Type '\c' to clear the current input statement.

mysql> show databases;
 +--------------------+
 | Database           |
 +--------------------+
 | information_schema |
 | mysql              |
 | performance_schema |
 | test_db            |
 +--------------------+
 4 rows in set (0.01 sec)

mysql> show tables;
 +-------------------+
 | Tables_in_test_db |
 +-------------------+
 | test_table        |
 +-------------------+
1 row in set (0.00 sec)

mysql> select * from test_table;
 +----+---------+
 | id | name    |
 +----+---------+
 |  1 | hello   |
 |  2 | world!! |
 +----+---------+
 2 rows in set (0.00 sec)

mysql> quit
 Bye
以上、基本的な操作方法でした。
最終的なコードはgithubにあげています。
github.com
[2024/01/21]
ついでに、 Java + Gradle を使用して MariaDB に接続するコードもあげてみました。
Spring Boot 使う場合のコードはまた別の機会に。
github.com