Mac OSを使用した、Raspberry Pi Picoの開発環境構築とビルド、動作確認までのメモです。
IDEはVisual Studio Codeを使用します。
こちら参考にしております。
www.robertthasjohn.com
SDKインストール
必要なパッケージをインストール
brew install cmake
brew tap ArmMbed/homebrew-formulae
brew install arm-none-eabi-gcc
インストール中以下が出たので、対応
...
==> Installing arm-none-eabi-gcc from armmbed/formulae
Error: Your Command Line Tools are too outdated.
Update them from Software Update in System Settings.

If that doesn't show you any updates, run:
  sudo rm -rf /Library/Developer/CommandLineTools
  sudo xcode-select --install
...
=>
sudo rm -rf /Library/Developer/CommandLineTools
sudo xcode-select --install
SDKをインストール
# cd develop/raspberrypi/projects/pico
git clone -b master https://github.com/raspberrypi/pico-sdk.git
cd pico-sdk
git submodule update --init
echo "export PICO_SDK_PATH=$(pwd)" >> ~/.zprofile
ターミナルを再起動して確認
echo "${PICO_SDK_PATH}"
Exampleファイルを取得
# cd develop/raspberrypi/projects/pico
git clone -b master https://github.com/raspberrypi/pico-examples.git
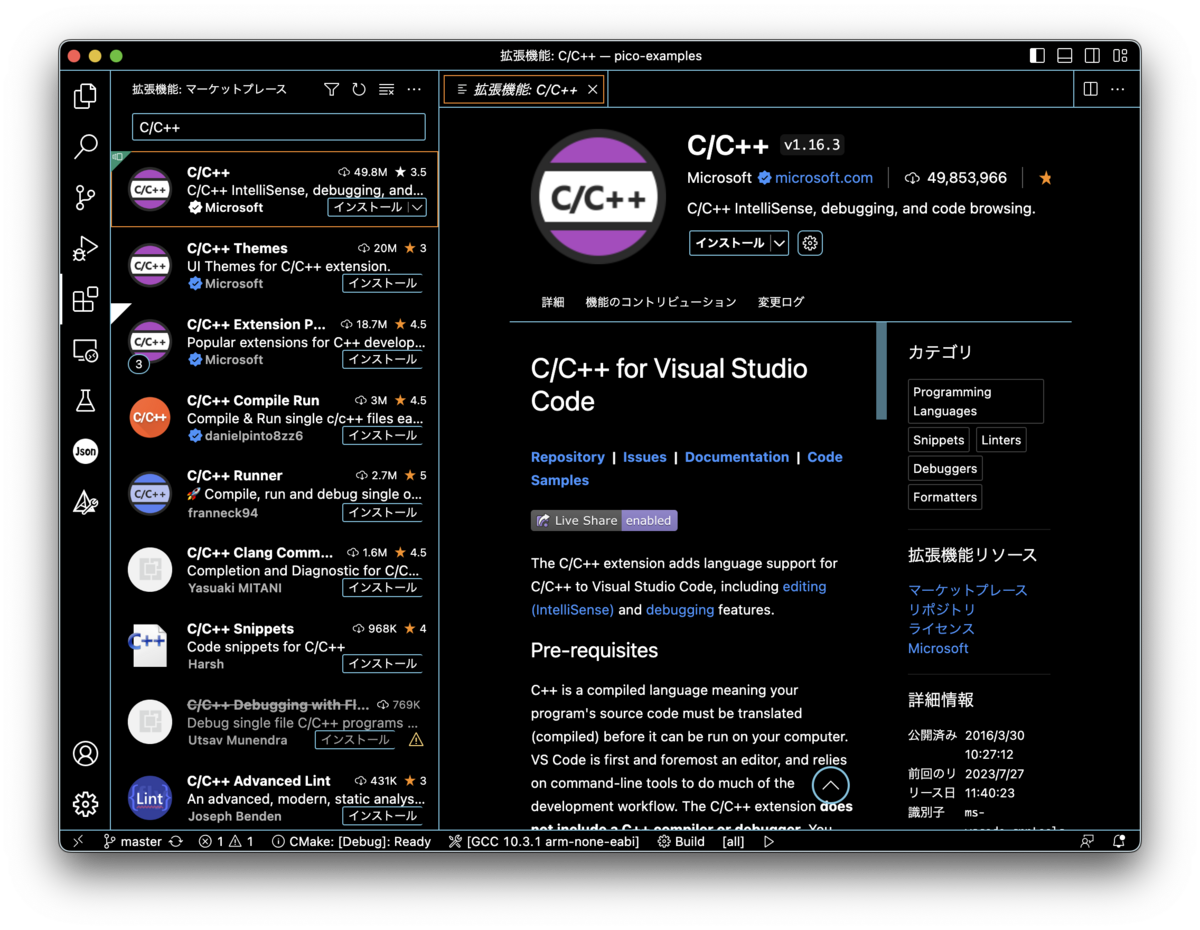
IDEセットアップ


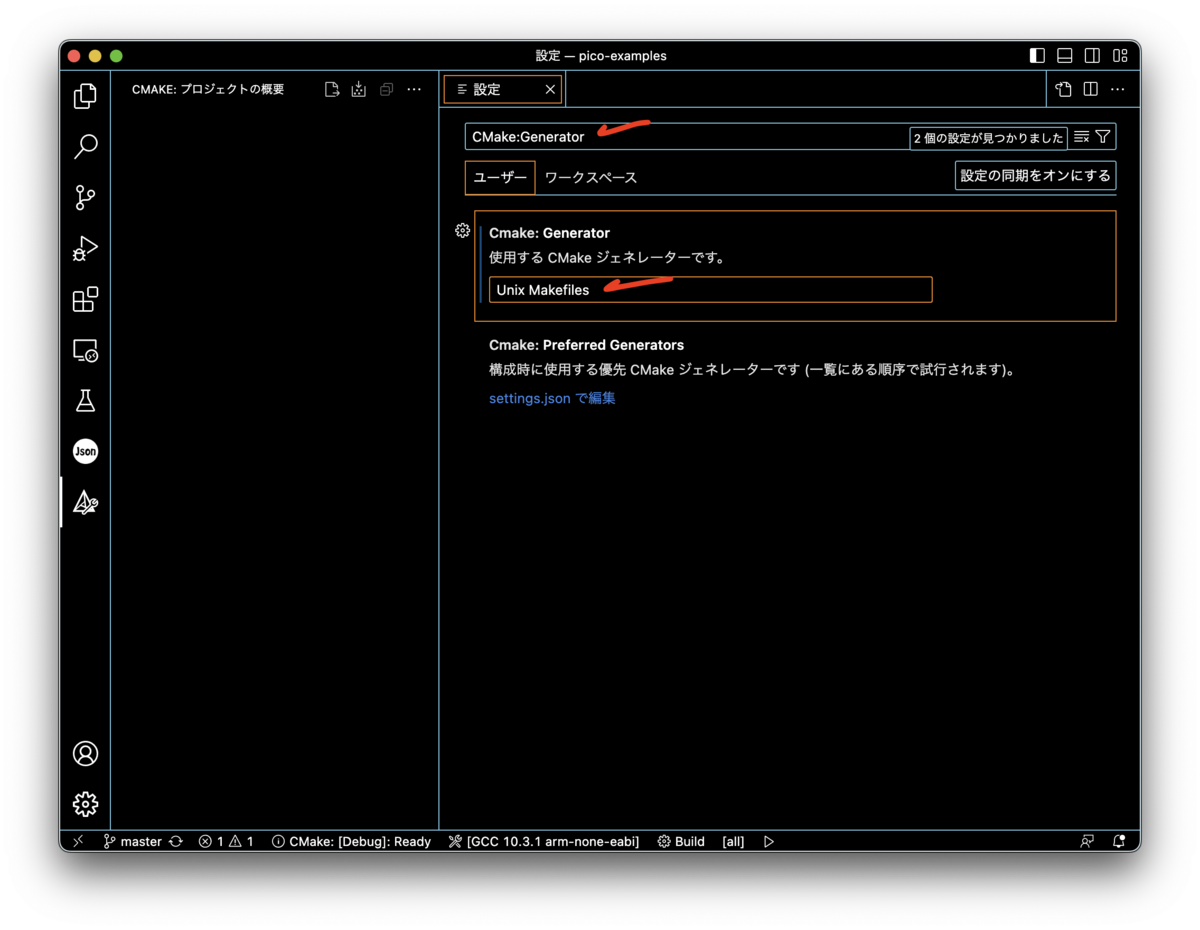
ビルド
buildディレクトリがある場合は削除。
以下でターゲット(今回はblink)を選び、Buildボタンをクリックする。


ビルド完了後のメッセージに[build] Build finished with exit code 0が出ればOK。
書き込むファイルは以下です。
build/blink/blink.uf2
書き込み
PicoのBootボタンを押しながら、PicoとPCをUSBケーブルで繋ぐ。
Bootボタンを3秒以上押し続けて、Finderに認識させる。
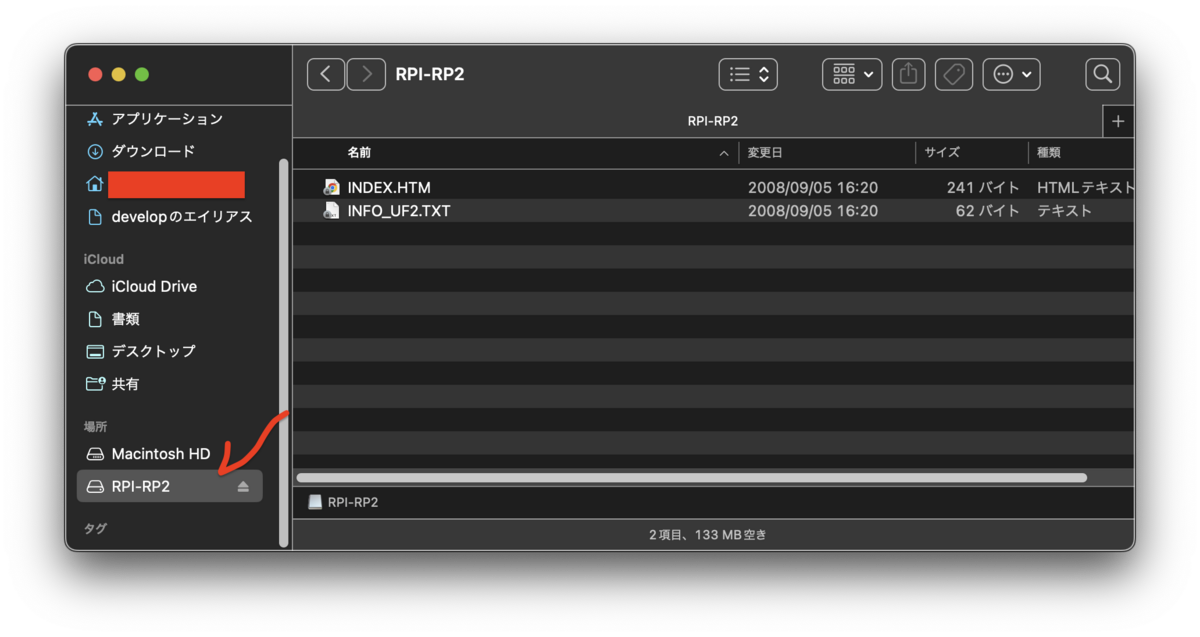
blink.uf2をコピーする。

コピー完了すると、自動再起動します。
Picoに搭載されているLEDが点滅します。